Marketing
Plan campaigns, build funnels, publish landing pages, and see how touches turn into leads, orders, and paid revenue.
Marketing connects campaigns, funnels, CMS pages, and the public storefront so you can attribute demand, see touch-backed performance metrics, and follow that journey from submission to paid revenue.
Before you start
- Create campaigns first when you care about attribution.
- Use clear slugs—they are reused across screens.
- Decide which funnel and campaign each landing page should use before you publish.
Campaigns
Path: Marketing → Campaigns (/marketing/campaigns)
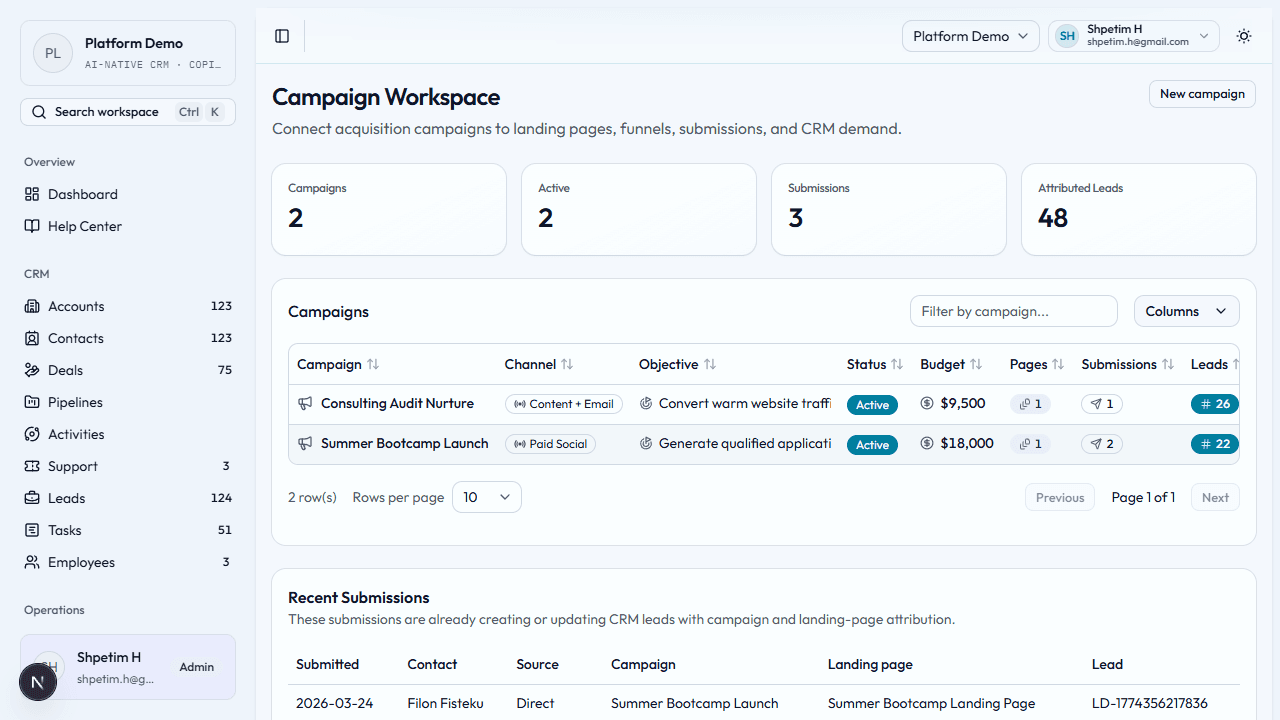
- Open the Campaign workspace and review touch-backed rollups for views, submissions, and influenced pipeline.
- New campaign — name, slug, channel, objective, budget, dates, notes.
- Open a campaign row (View) or Edit to change fields and status; Delete removes the campaign when allowed.
- On the campaign detail page, use the attribution cards to compare direct, first-touch, last-touch, and influenced lead, order, and paid-revenue credit before you report success.
- Use Nurture automation on the campaign detail page to auto-enroll newly created leads into a CRM sequence. Add campaign-wide or landing-page-specific rules, then pause or retarget them as the campaign changes.
- Use the new Attributed deals and Deal progression sections to see which opportunities this campaign actually touched downstream.
- Watch recent submissions to see activity linked to campaigns and pages.
- Use campaign data when you create funnels and landing pages so reporting stays connected.
Funnels
Path: Marketing → Funnels (/marketing/funnels)
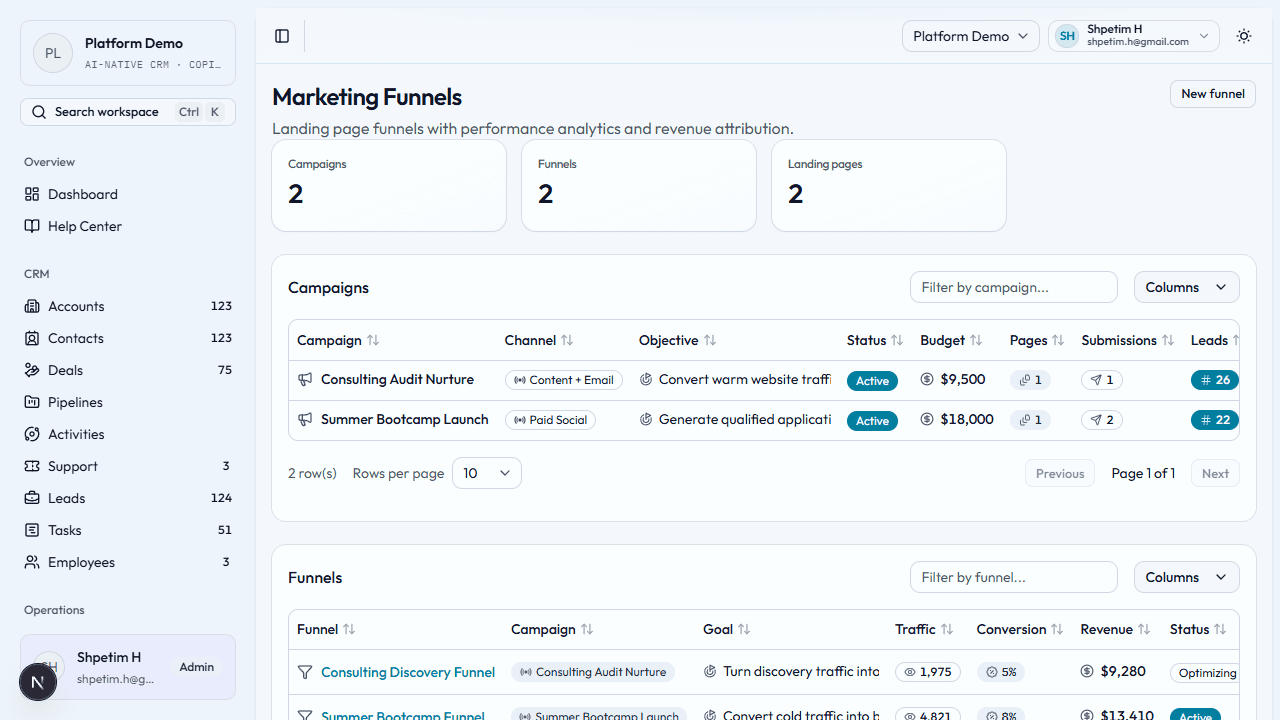
- Review the funnel rollups for views, submissions, conversion, and influenced pipeline.
- Create a funnel — name, slug, goal, target traffic, expected conversion, revenue target, linked campaign.
- Check linked landing pages so the conversion path matches reality.
- Open a funnel detail page to edit metrics or publish when the funnel is ready.
- Use the Journey progression, Lead stage mix, Attributed deals, and paid-revenue summaries on the detail page to understand how funnel traffic is turning into qualified pipeline and booked revenue.
Landing pages
Path: Marketing → Landing Pages (/marketing/landing-pages)
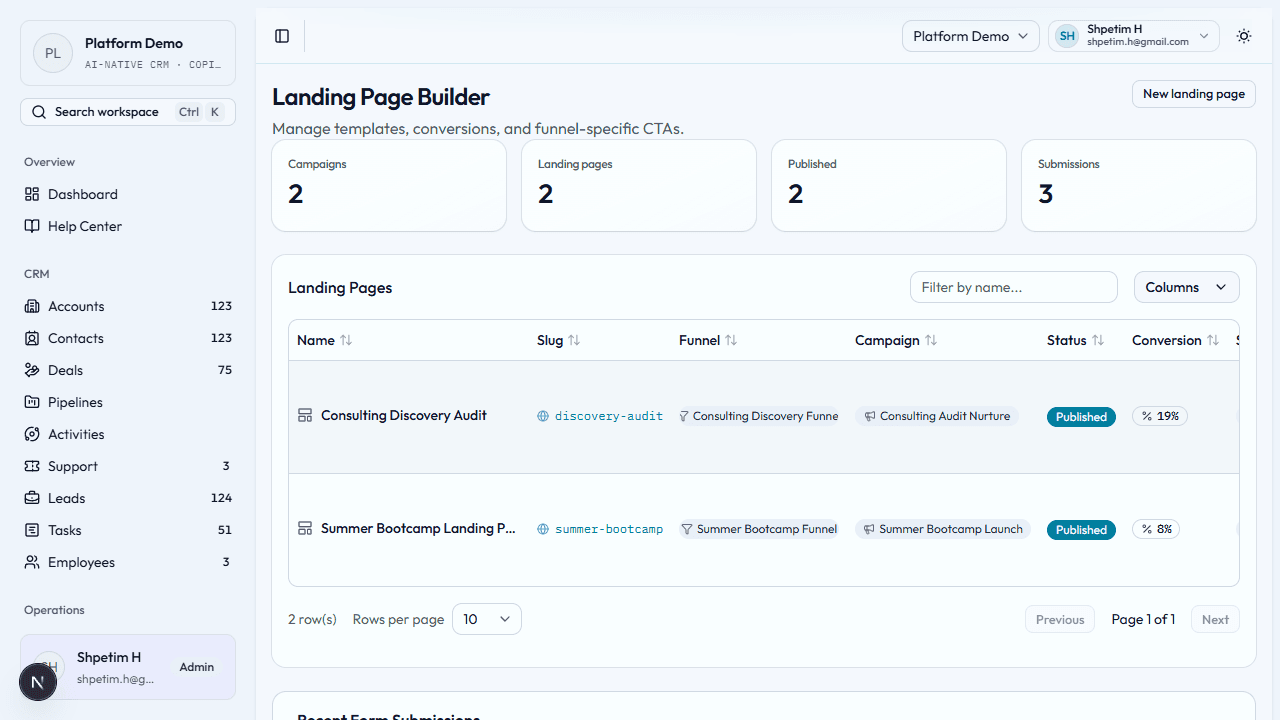
- Open the Landing page builder; review totals, published count, views, and influenced pipeline.
- Create a landing page — slug, name, headline, summary, body, template, linked funnel and campaign.
- On create or edit, open Public lead form to customize fields (text, email, paragraph, dropdown, and more). Keep exactly one field mapped to Full name and one to Email so submissions still create CRM leads.
- Use the table for status and quick review.
- Published landing pages now set a first-party visitor id and emit page-view touches automatically, so attribution can survive until form submission without third-party scripts.
- Watch recent form submissions—published pages create CRM-linked records with campaign context, and those submissions now also append a
FORM_SUBMITtouch tied back to the same visitor history. - The landing-page, funnel, and campaign tables now use those touches to calculate views, conversion, open pipeline influence, and paid-order revenue continuity instead of relying only on static targets.
CMS pages and storefront influence
Public CMS pages can now feature selected courses and events through Commerce sections JSON. That means a visitor can move from:
- CMS page
- featured storefront offer
- checkout
- order confirmation
without losing the original campaign, landing, or CMS attribution context.
End-to-end flow
Campaign or CMS page → Landing page or storefront offer → Visitor touch → Lead capture or checkout → CRM lead/contact → Order and payment → Campaign/funnel paid revenue reporting.